How to Clean Medical Exam Rooms Consistently
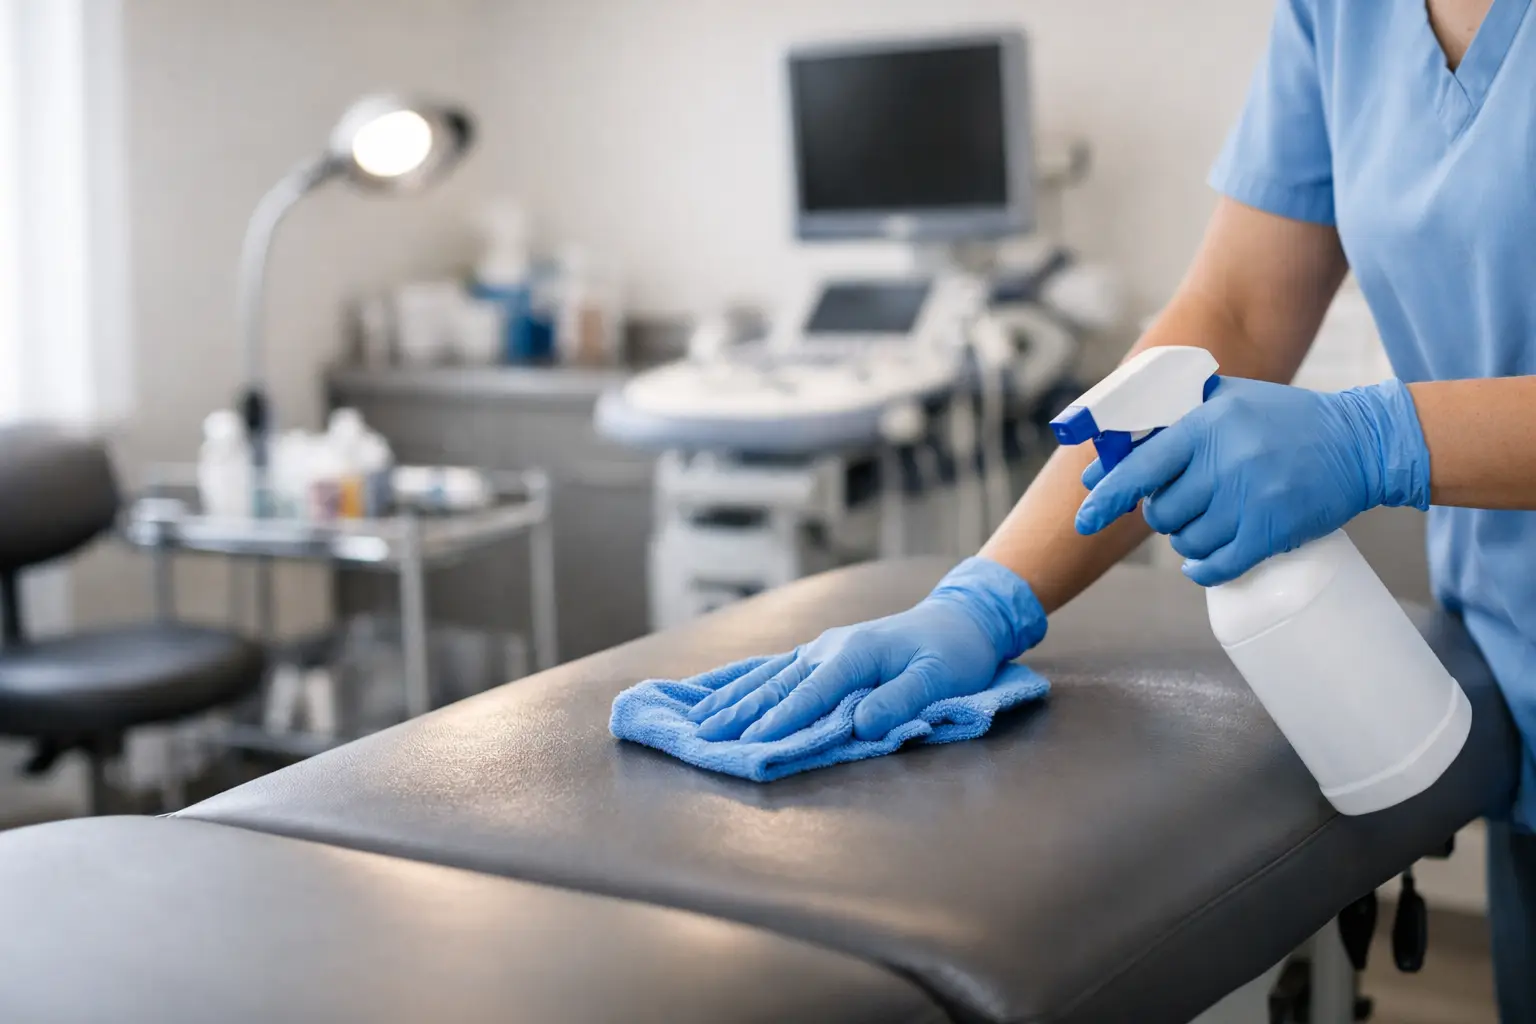
A patient notices the condition of an exam room before the appointment begins. A smudged chair arm, a full waste container, or residue on the exam table can raise doubts about the entire practice. Knowing how to clean medical exam rooms means building a repeatable process that supports patient confidence, keeps rooms ready for staff, and gives practice leaders a clear way to verify the work.
Medical office cleaning is not simply about making a room look tidy after hours. Each room has high-touch surfaces, clinical workflows, privacy considerations, and products that must be used according to their labels. The most effective approach is site-specific, documented, and consistent from one visit to the next.
Start With a Room-Specific Cleaning Plan
Exam rooms differ by specialty. A primary care room, dental treatment space, pediatric office, and dermatology suite may have different furnishings, equipment, waste streams, and cleaning expectations. A general checklist is useful, but it should not replace a documented scope developed around the actual room.
Before cleaning begins, identify what is included in the janitorial scope and what must remain the responsibility of clinical staff. For example, staff may be responsible for clinical instruments, regulated medical waste, sharps containers, and patient-care equipment requiring specialized procedures. The cleaning team should know exactly which surfaces it may clean, which products are approved, where supplies are stored, and who to contact if a concern is found.
A workable exam-room plan should define the frequency of service, the surfaces to be cleaned or disinfected, the approved product and dilution requirements, and the inspection standard. It should also account for timing. Evening cleaning may suit many practices, while high-traffic facilities may need daytime attention to restrooms, waiting areas, waste, and exam-room turnover support.
Cleaning and Disinfecting Are Different Steps
One of the most common sources of inconsistency is treating cleaning and disinfecting as the same task. They are related, but they are not interchangeable.
Cleaning removes visible soil, dust, residue, and organic material from a surface. Disinfecting uses an appropriate product to reduce germs on a pre-cleaned surface, following the manufacturer’s instructions. If a surface is visibly soiled, applying disinfectant alone may not produce the intended result.
The product label matters. It specifies where a product can be used, whether dilution is required, required personal protective equipment, and how long the surface must remain visibly wet. That wet-contact time cannot be shortened simply because the room appears ready. A cleaner should never mix chemicals or use a product on equipment or materials unless the manufacturer and the facility have approved it.
For practices, the practical takeaway is simple: ask your cleaning provider how products, dwell times, and surface compatibility are managed. A vague answer often leads to missed steps. A documented answer creates accountability.
Follow a Consistent Sequence for Every Room
A consistent order reduces cross-contamination risk and makes it easier to inspect the work. In most medical exam rooms, cleaning should move from cleaner areas toward dirtier areas, from high surfaces to low surfaces, and from the farthest point of the room toward the exit.
Before entering, cleaners should review room status and follow the practice’s access and privacy procedures. Doors should remain secured as required, and any patient information left in the room should be handled according to the facility’s policies. If there is a spill, an overflowing container, damaged furniture, or an item that appears clinical in nature, the issue should be reported rather than improvised around.
High-touch points deserve deliberate attention because they are easy to overlook during rushed service. Depending on the room, these may include door handles, light switches, drawer pulls, counter edges, chair arms, stools, exam-table controls, privacy curtain touch points, keyboards, phones, and sink fixtures. Only clean electronics and specialized equipment in the manner approved by the practice and equipment manufacturer.
The exam table should be addressed according to the facility’s protocol, including the table paper dispenser, control surfaces, exposed frame areas, and any nonporous surfaces that are part of the approved scope. Cleaning around a table is not the same as cleaning the table itself. That distinction should be clear on the checklist.
Handle Waste and Floors With Care
Waste removal is a visible sign of whether a room is being maintained, but it also requires clear boundaries. The cleaning team should only handle waste containers included in the agreed scope. Sharps, regulated medical waste, pharmaceuticals, and other specialized disposal items require facility procedures that should not be assumed or bypassed.
For standard waste, replace liners as needed, avoid compressing bags against the body, and inspect the surrounding area for loose debris. Wipe the exterior of containers when necessary. If an item is leaking, damaged, or improperly placed, notify the appropriate practice contact promptly.
Floors come last. Start with dry soil removal, particularly along baseboards, under furniture where accessible, and around the exam table. Then wet clean using the appropriate method for the flooring material and the level of soil. Over-wetting can create slip hazards and may damage certain floor finishes, while rushed mopping can leave residue behind.
Floor care also depends on the practice’s schedule. Daily maintenance protects appearance, but periodic machine scrubbing, finish care, carpet cleaning in adjacent spaces, and spot treatment may be needed to keep the facility presentable over time.
Use Color Coding and Supply Controls
The same cloth or mop should not travel casually from a restroom to an exam room. Color-coded microfiber cloths and mop systems help separate tasks and reduce the chance that tools are used in the wrong area. The exact color system can vary, but every team member should understand it and follow it the same way.
Supplies should be organized so cleaners can work efficiently without placing bottles or dirty tools on patient-care surfaces. Clean and used microfiber should be separated. Reusable tools need a defined laundering or replacement process, not a vague expectation that they will be cleaned later.
Inventory controls matter as well. Running out of liners, hand soap, paper products, or approved disinfectant creates avoidable disruption. A cleaning provider should communicate low-stock conditions early, document supply needs where applicable, and make it clear which party is responsible for ordering each item.
Build Inspection Into the Process
A completed checklist is useful only when it reflects what happened in the room. Quality checks should look beyond whether a task was marked complete. Inspectors should look for dust on ledges, fingerprints on doors, buildup around fixtures, debris under accessible furniture, full containers, streaks on surfaces, and missed high-touch areas.
For practice administrators and facility managers, the most useful reporting is specific. “Exam rooms cleaned” offers little insight. A better report identifies the area, the issue, the action taken, and whether follow-up is needed. If a dispenser is damaged, a floor transition is lifting, or recurring residue is found on a surface, that information helps the practice address a problem before it affects patients or staff.
This is where consistency becomes operational, not just visual. The cleaning company should have a documented scope, supervisory review, and a clear path for reporting missed details. Staff should not have to repeatedly chase a vendor to correct the same issue.
Train for Safety, Privacy, and Communication
Medical office cleaning requires more than a list of surfaces. Team members need training on hand hygiene, personal protective equipment, chemical safety, bloodborne-pathogen awareness, privacy expectations, and the practice’s reporting process. Training should be reinforced when a site changes, new equipment is introduced, or an inspection identifies a recurring issue.
Communication is equally important. If rooms are unavailable, construction has occurred, a patient area requires special attention, or the practice changes hours, the cleaning team needs a reliable point of contact. In return, managers should receive timely notice of issues that affect cleanliness, safety, or access.
For medical and dental practices in Newark and surrounding northern New Jersey communities, a site walkthrough is often the fastest way to uncover gaps between the current cleaning routine and the facility’s actual needs. CEECEE Commercial Cleaning uses documented scopes, site-specific plans, and quality inspections to support The CEECEE Standard without making your staff responsible for managing every detail.
A clean exam room should feel routine to patients because the process behind it is anything but casual. If your current provider leaves questions about missed details, product use, or follow-up, schedule a free walkthrough and request a customized proposal built around how your practice operates.
Call (917) 837-6499 or email info@ceeceecleaning.com